
Setup 14 of 14
Change payment, cancel, and remove access
You can change your card, find receipts and cancel from the dashboard. This page also covers what stays on your side after you cancel (such as the address you added in Google) and how to remove it.
- Required?
- When needed
- Where you do it
- Dashboard, Google and WordPress
Payment and receipts
On the home page of your dashboard, click “Change payment” in the menu to the right of your site.
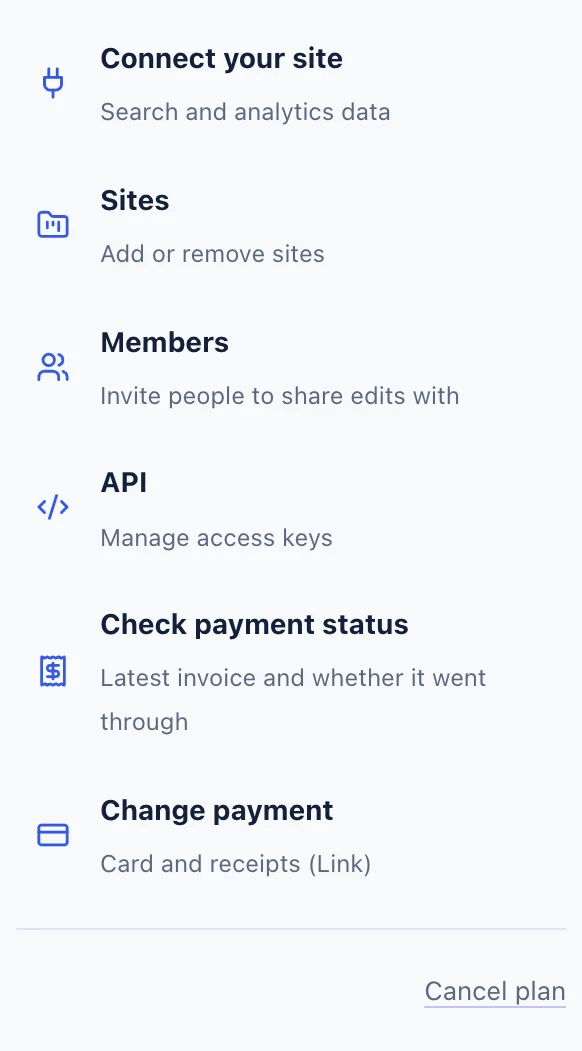
- “Change payment” lets you change your card and see receipts.
- “Cancel plan” starts the cancellation.
Plans paid outside Japan are managed on Link, the payment service used at checkout. Log in to Link with the email address you paid with to change your card or see receipts. Plans paid in Japan open a Stripe page instead.
Cancel your plan
Step 1Click Cancel plan
The cancellation screen shows your record so far and what happens when you cancel: when it ends, what stays and what goes.
Step 2Cancel on Link
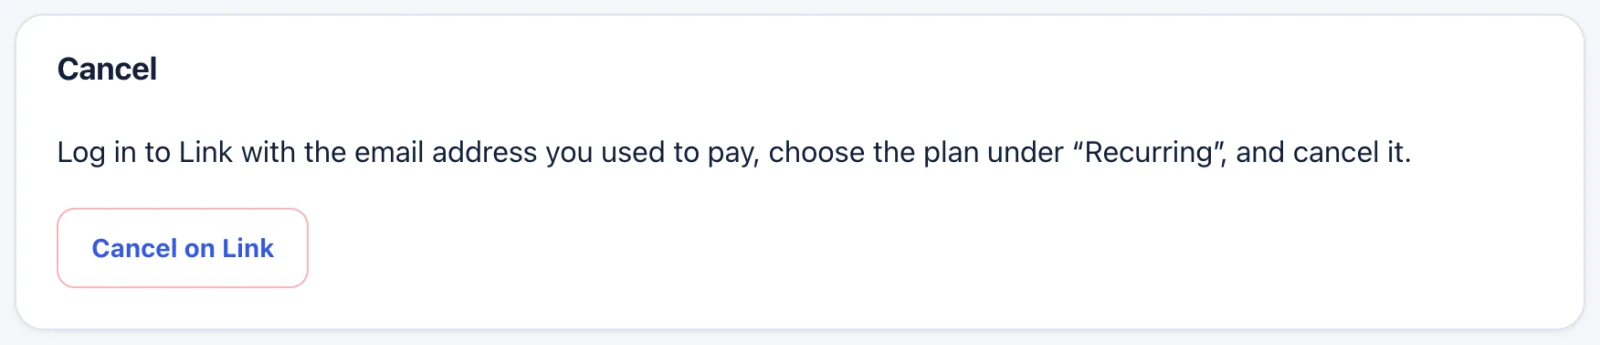
- Click “Cancel on Link”, log in to Link with the email address you paid with, choose the plan under “Recurring” and cancel it.
For plans paid in Japan, the screen instead has a short optional survey and a “Go to the final check” button, then a Stripe page where you confirm.
Step 3Check in the dashboard
Back in the dashboard, you see “Your plan will be cancelled on [date]. You will not be charged after that.” You can keep using Get1pct as usual until that date.
What to remove when you leave
We delete the WordPress password we keep when you cancel. The following stay on your side, so please remove them yourself.
Step 1Remove the address from Search Console
Go to Settings → Users and permissions (“設定” → “ユーザーと権限” in Japanese), click the three dots (⋮) next to the address you added and choose Remove access.
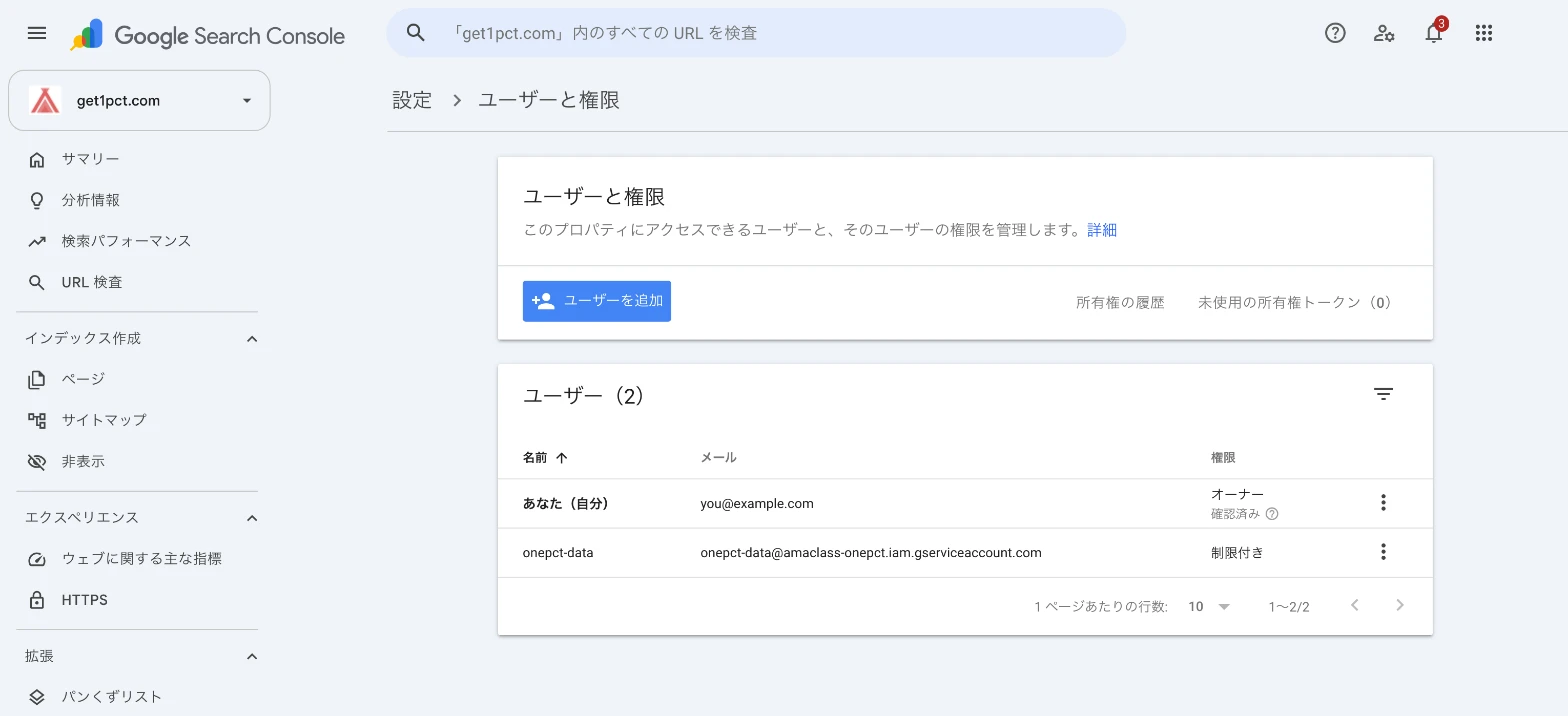
- You are done when the address appears in the list as “制限付き” (Restricted).
Step 2Remove the address from Google Analytics
Go to Admin → Property access management (“管理” → “プロパティのアクセス管理”), click the three dots (⋮) next to the address you added and remove its access.
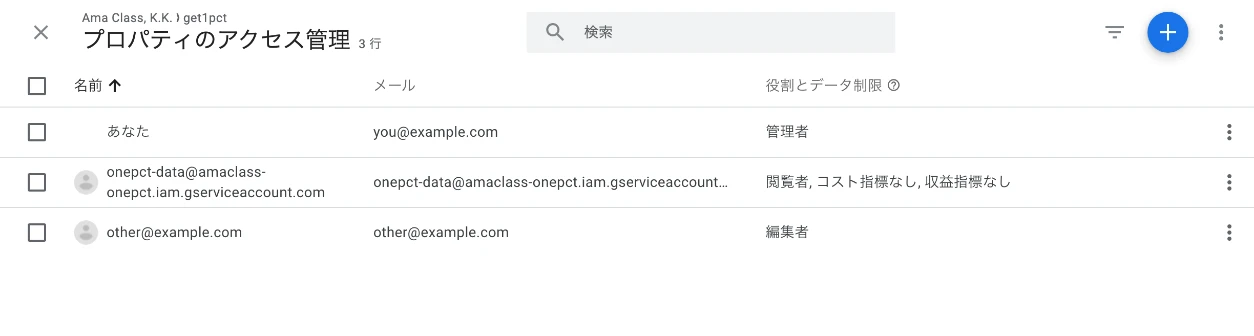
- Click the blue “+” button at the top right.
Step 3Revoke the WordPress application password
At the bottom of Users → Profile, click Revoke next to the password you created.
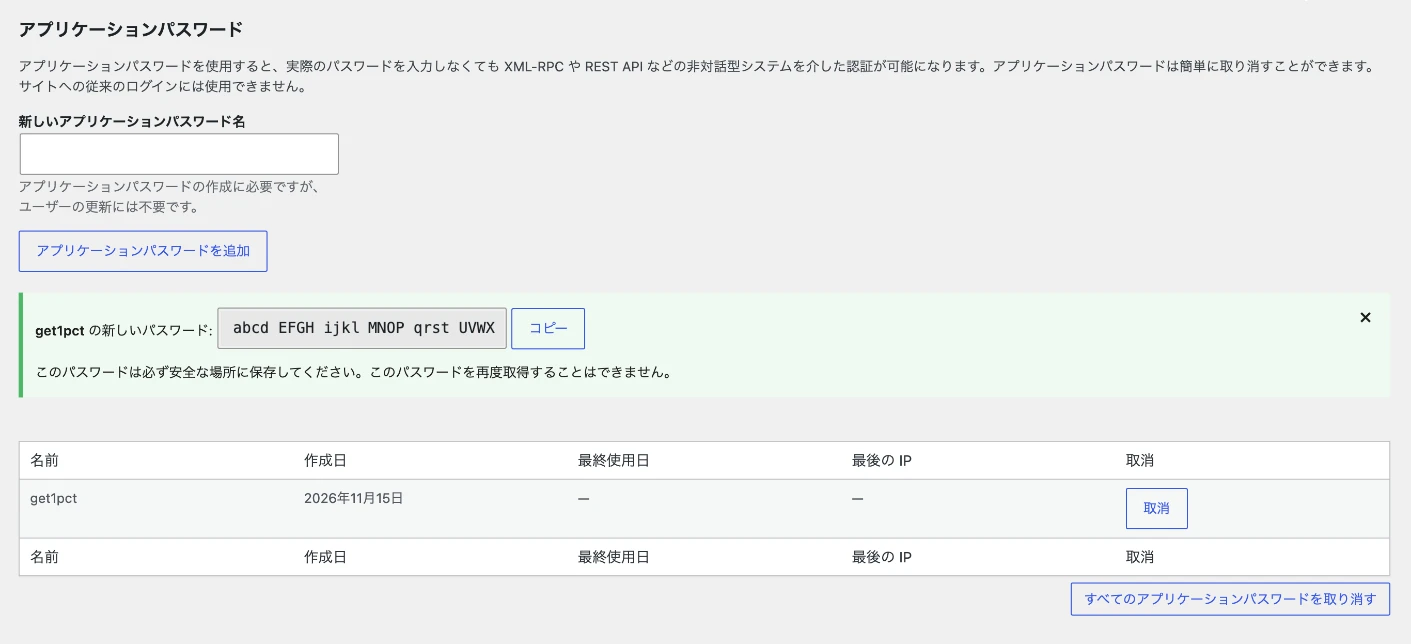
- Click “取消” (Revoke) in the list to stop that password from working.
Step 4Remove the ownership line
Remove the ownership line you added to the <head> of your home page.
If the steps don’t match what you see, contact us with your site URL and the screen where you got stuck. Please don’t send passwords.